
Encuentra la version en español AQUI
This tutorial was made and written by my own ideas any resemblance to other tutorials is purely coincidental.
Supplies Needed
Tube of choice. I'm using the tube Tiffany, by Lady Mishka
You can purchase her work here
Scrapkit: Emo Tiffany, by Hania's Designs
You can purchase her kit here
A freebie WordArt that I make for my special Project 52 weeks.
You can found it here
Font of choice. I'm using font called Mon Amour Script Art
No plugins needed.
Elements used from kit
Element 1, Element 2 , Element 3, Element 5,
Element 10, Element 14, Element 15, Element 21
Element 24, Element 47, Element 50,
Element 54, Element 61, Element 70
Element 10, Element 14, Element 15, Element 21
Element 24, Element 47, Element 50,
Element 54, Element 61, Element 70
Papers used from kit
None
Lets' get Started
Open new raster 600x600
Element 24. Put in the left side. Duplicate - image - mirror - put on the right side.
Element 70 - resize it. Adjust size and put in the middle
Element 47 put behind all of them.
Element 70 - resize it. Adjust size and put in the middle
Element 47 put behind all of them.
Look this image for reference

Now, add the followin elements. Resize them if you think is necesary
Element 15
element 1
Element 10
Element 14
Element 5
Please, look my composition as reference for the work.
element 1
Element 10
Element 14
Element 5
Please, look my composition as reference for the work.

Now is the time to add the tube, look

Time to add new elements, but now, they must be in front of the tube. These elements are:
Element 50
Element 3
Element 21
Element 2
Element 61
Element 54
Element 3
Element 21
Element 2
Element 61
Element 54
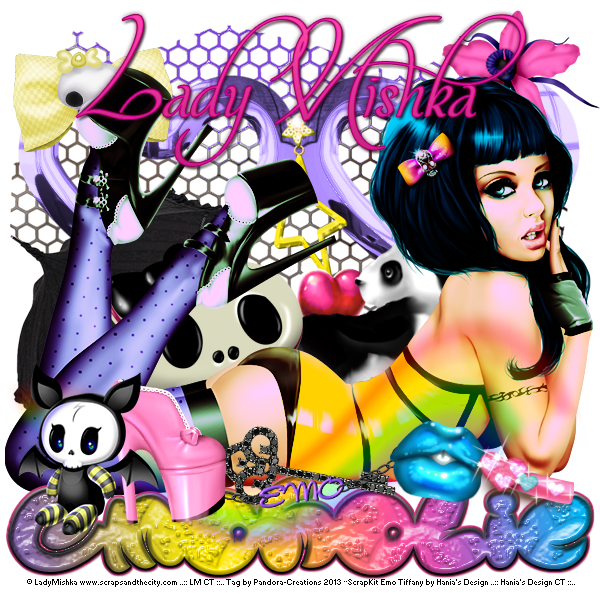
Again, please follow my composition:

Finally, we need add the wordart EmoHolic. You must put below the tube. Please, look my composition ;)

Add your name, credits and copyright info and we are done!

You
must remember that this is only a few instructions, but your result can
be change and original depending the tube you use, look another
variation!!!

Tutorial made by Pandora-Creations on March 1, 2013. Not copy whole or in part without the express consent of the author. Contact me for any questions or to send your results!! Thank you!


No hay comentarios:
Publicar un comentario