jueves, 1 de agosto de 2013

Thursday Madness!!!

Thursday Madness Time!!!!
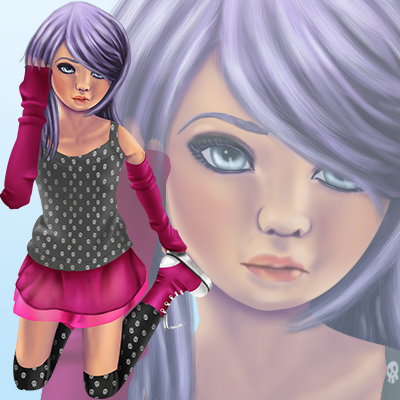
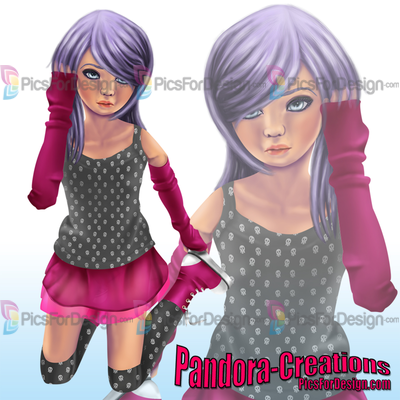
My new Tube BIG BETY and her awesome CURVES are on sale!!!! 1$ only today!! Please, take a look to my gallery, you can found great discounts!!


lunes, 29 de julio de 2013

New Tube on SATC: Big Bety

LAS CURVAS SON PODEROSAS!!!
Todo el mundo sabe que las curvas de la mujer son sexys y maravillosas. El poder del sex-appeal reside en la mayor parte en las curvas sinuosas que las mujeres saben manejar. Y es que no hay mas belleza que unas bellas y grandes curvas.
Por eso Bety esta SEGURA DE SI MISMA y muestra sus encantos con AUTOCONFIANZA.

CURVES ARE POWERFUL!
Everyone knows that curves are sexy and wonderful woman. The power of sex appeal lies in the majority in the sinuous curves that women can handle. And there is no more beautiful than a beautiful and great curves.
Bety why this SECURE ITSELF and displays its charms with SELF-CONFIDENCE.


Curves are trending!! And our Bety knows it, she shows her big powerful curves because CURVES ARE BEAUTIFUL!! 
PSD Tube Layered
Includes FULL BODY, HALF BODY and CLOSE UP.
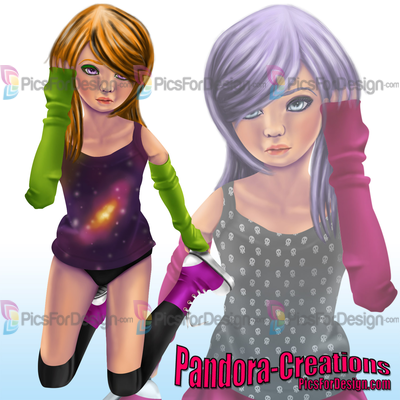
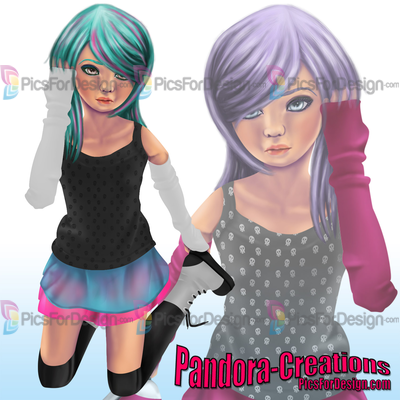
Diferents hair colors and clothes and shoes colors too!! in total 54 layers on Full Body for fun!!!


Las curvas estan de moda!! Y nuestra Bety lo sabe, ella muestra sus grandes y poderosas curvas, porque las CURVAS SON HERMOSAS!! 
Tubo en capas PSD
Incluye CUERPO ENTERO, MEDIO CUERPO Y CLOSE UP (ROSTRO)
Diferentes colores de pelo, ropa y zapatos tambien!! en total 54 capas en el cuerpo entero para divertiros!!!

New tube on PFD: Nickisch

Hola a todos!!!
Hello everybody!! 
 
Bueno, nuevo nuevo ya no es, tiene unas semanas, pero no me dio tiempo a postearlo aqui, asi que lo hago ahora. Os presento a Nickisch.
Well, new new, is not new, she has a few weeks, but I didn't have enought time to post here, so I do it now. I present you to Nickisch.
 
Espero que os guste :D Os dejo unas previas:
I hope you like her :D I put some previews: 

http://picsfordesign.com/en/catalogue/id_105978_nickisch.pix
 

  • 870x1500@300ppi
  • + Muchos colores
  • TOTAL = 66 capas

  • 870x1500@300ppi
  • + A LOT OF COLORS
  • TOTAL = 66 LAYERS

domingo, 30 de junio de 2013

Tutorial - From Hell (Desde el Infierno) (Spanish)


Tutorial CT para Hania's Designs y LadyMishka.

Para este tutorial he usado el tube "Vampire Lulu (White Moon)" de  LadyMishka. Por favor, compra el tube en Pics For Design AQUI
Tambien use el fantastico kit "Devil's Bride", de Hania's Design. Puedes encontrarlo en Pics For Design AQUI o Scraps And the City AQUI

Para este tutorial solo necesitas el kit, el tube y una mascara de tu elección. You use una mascara de AQUI. La fuente usada es "Olho de Boi"

Empecemos. Abre tu carpeta del kit, elementos, y vamos a poner los siguientes elementos en un lienzo transparente, tamaño 500X500 pix.

elemento 108
elemento 42 (duplicar y espejo)
elemento 27
elemento 57

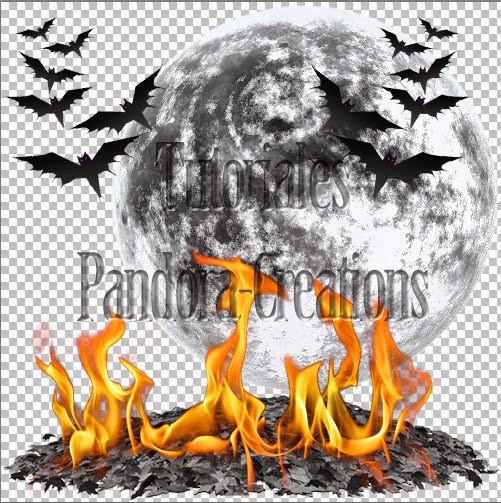
Por favor, sigue la siguiente vista previa como una referencia para las posiciones:


El siguiente paso es poner los siguientes elementos:
 
elemento 103
elemento 10 (duplicar, redimensionar al 55% y rotar 40º a la derecha)
elemento 105

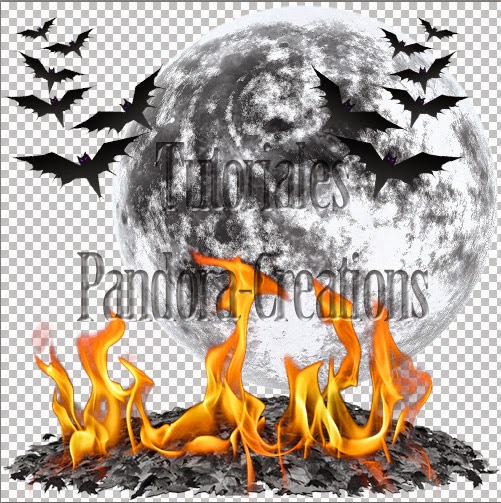
Sigue la previa como referencia:


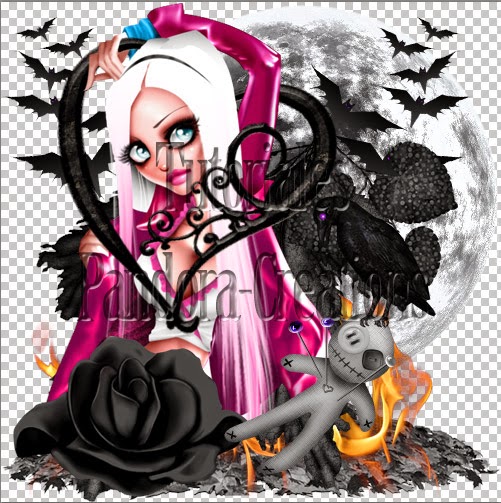
Ahora es hora de poner el tubo, mezclandolo con la creacion de la manera que quieras. Puedes mirar mi creacion para tener una referencia si quieres. Yo suelo duplicar el tubo y usar la goma de borrar en las areas que quiero suprimir :D

Tambien ponemos los elementos 36, 1 y 19.


Pon el papel 6 bajo tu ultima capa y combinala con la mascara de tu eleccion.

Despues, pon tu nombre, y muy importante, los créditos en el tag, y ya esta listo!!!


Tutorial realizado por Pandora-Creations en junio de 2013. Por favor, no robes mi trabajo. Si quieres seguir el tutorial y enviarme tu trabajo, puedes hacerlo al correo electronico que muestro en mi blog. Si quieres mostrar este tutorial en tu blog o en tu foro, por favor, preguntame primero.
Gracias, disfruta con tu PS / PSP !!!

Tutorial - From Hell (English)


Tutorial CT for Hania's Designs and LadyMishka.

For this tutorial I use the tube "Vampire Lulu (White Moon)" from LadyMishka. Please, purchase the tube at Pics For Design HERE
Also I use the awesome kit "Devil's Bride", by Hania's Design. You can find the the kit here on Pics For Design HERE or Scraps And the City HERE

For this tutorial only need the kit, the tube and 1 mask of your choice. I use a mask from here. The font used is "Olho de Boi"

Lets go. Open the folder of your kit, elements, and we going to put the following elements on a transparent canvas, size 500X500 pix.

element 108
element 42 (duplicate and mirror)
element 27
element 57

Please, follow the next preview like a reference position:


Next step is put the follow elements:

element 103
element 10 (duplicate, resize at 55% and rotate 40º right)
element 105

Follow this preview as reference


Now is time to put the tube, mixing with the creation as you want. You can look my creation to have a reference if you want. I usually duplicate the tube an use the eraser in the areas that I want to delete :D

And also put the elements 36, 1 and 19.


Put the paper 6 under your last layer and combine with the mask of your choise.

Later, put your name, and very important, the credits on the tags, and is ready!!!


Tutorial made by Pandora-Creations on jun of 2013. Please, don't steal my work. If you want to follow the tut and send me your work, you can do it at the email that I show on my blog. If you want to show this tutorial on your blog or forum, please, ask me first.
Thank you, enjoy with your PS / PSP !!!

Tutorial Alabaster Angel (ENGLISH VERSION)


Tutorial CT for P-O Concept, and myself.

For this tutorial we going to use the awesome kit ALABASTER & SHADOW, by P-O Concept. You can find the the kit here on SATC
Also, I use my tube, ARIES + Angel, Angel version of course. Please, take a look on SATC.

For this tutorial only need the kit, the tube and 2 differents mask: The mask called "beckymask 038" by Becky from SecretsoftheImagination. The web is donw, but if you search on google, I'm sure that you can find it easily. The other one is the mask called "Avital_MaskVol1_FreeM2" by avital Designs from http://avitalscrap.blogspot.com (can find the mask on this store for free). The font used is "Birch Std"

Lets go. Open the folder of your kit, elements, and we going to put the following elements on a transparent canvas, size 600X600 pix.

element 24
element 1
element 2
element 43
element 35
element 36
element 46
element 51


Please, follow the next preview like a reference position:


Next step is put the close up tube behind the windows blend mode: screen
duplicate the tube layer and put it on the mode: luminosity - opac. 50%
paper 12 behind the tube

Follow this preview as reference


Now is time to put the tube full body - and get shadows 40 - 3 - 0 - 10

And also put the element 54, I think is so cute and tender :D


Copy all and paste as new layer

resize the image (ControlT) at 95%


And now, we going to play with Effects.
Filter - Blur - Gaussian blur - 37
New layer  - blend mode - Overlay (yes, only the transparent layer), and put this layer under the layer of the gaussian blur.
Now, merge this 2 layer with ControlE (blur and transparent)

Put the paper 1 under your last layer and combine with the Becky mask.
Later, put the paper 10 and apply the mask of Avital.

Later, put your name, and very important, the credits on the tags, and is ready!!!


Tutorial made by Pandora-Creations on jun of 2013. Please, don't steal my work. If you want to follow the tut and send me your work, you can do it at the email that I show on my blog. If you want to show this tutorial on your blog or forum, please, ask me first.
Thank you, enjoy with your PS / PSP !!!

Tutorial Angel de Alabastro (SPANISH)


Tutorial CT para P-O Concept, y para mi misma.

Para este tutorial vamos a usar el fantastico kit  ALABASTER & SHADOW, de P-O Concept. Puedes encontrar este kit aqui, en SATC
Tambien use mi tubo, ARIES + Angel, la version Angel por supuesto. Por favor, hecha un vistazo en SATC.

Para este tutorial solo necesitas el kit, el tubo y 2 mascaras diferentes. La maskara llamada  "beckymask 038" de Becky de SecretsoftheImagination. La web esta caida, pero si buscas en google, estoy segura de que la encontraras facilmente. La otra mascara se llama "Avital_MaskVol1_FreeM2" de avital Designs de http://avitalscrap.blogspot.com (puedes encontrar la mascara en esta tienda gratis). La fuente usada es "Birch Std"

Empecemos. Abre la carpeta con tu kit, elementos, y vamos a poner los siguientes elementos en un paño transparente, tamaño 600x600 pix.

elemento 24
elemento 1
elemento 2
elemento 43
elemento 35
elemento 36
elemento 46
elemento 51

Por favor, sigue la siguiente vista previa como una referencia para la posicion:


El siguiente paso es poner el close up detras de la ventana, modo de la capa: trama
Duplica la capa del tubo y ponlo en modo luminosidad - opacidad 50%
añade el papel 12 tras el tubo.

Sigue esta imagen como referencia


Ahora es hora de poner el tubo de cuerpo entero, y añadir sombra con los valores 40 - 3 - 0 - 10

Y pon tambien el elemento 54, es tan cute y tierno!! :D


Selecciona todo, copia todo y pega como una nueva capa
Redimensionala al 65 con Control T


Y ahora, vamos a jugar con los efectos.
Filtro - Desenfoque - Desenfoque Gaussiano - radio 37
Nueva capa - modo: superponer (si, solo la capa transparente), y ahora pon la capa bajo la capa del desenfoque.
Ahora, Combina las 2 capas con Control E (la del ruido y la transparente con el modo superponer)

Ahora pon el papel 1 bajo tu ultima capa y combina con la máscara Becky mask
Despues, pon el papel 10 y añade la máscara de Avital.

Por ultimo, pon tu nombre, y muy importante, los creditos en el tag, y listo!!!


Tutorial realizado por Pandora-Creations en junio de 2013. Por favor, no robes mi trabajo. Si quieres seguir el tutorial y enviarme tu trabajo, puedes hacerlo al correo electronico que muestro en mi blog. Si quieres mostrar este tutorial en tu blog o en tu foro, por favor, preguntame primero.
Gracias, disfruta con tu PS / PSP !!!